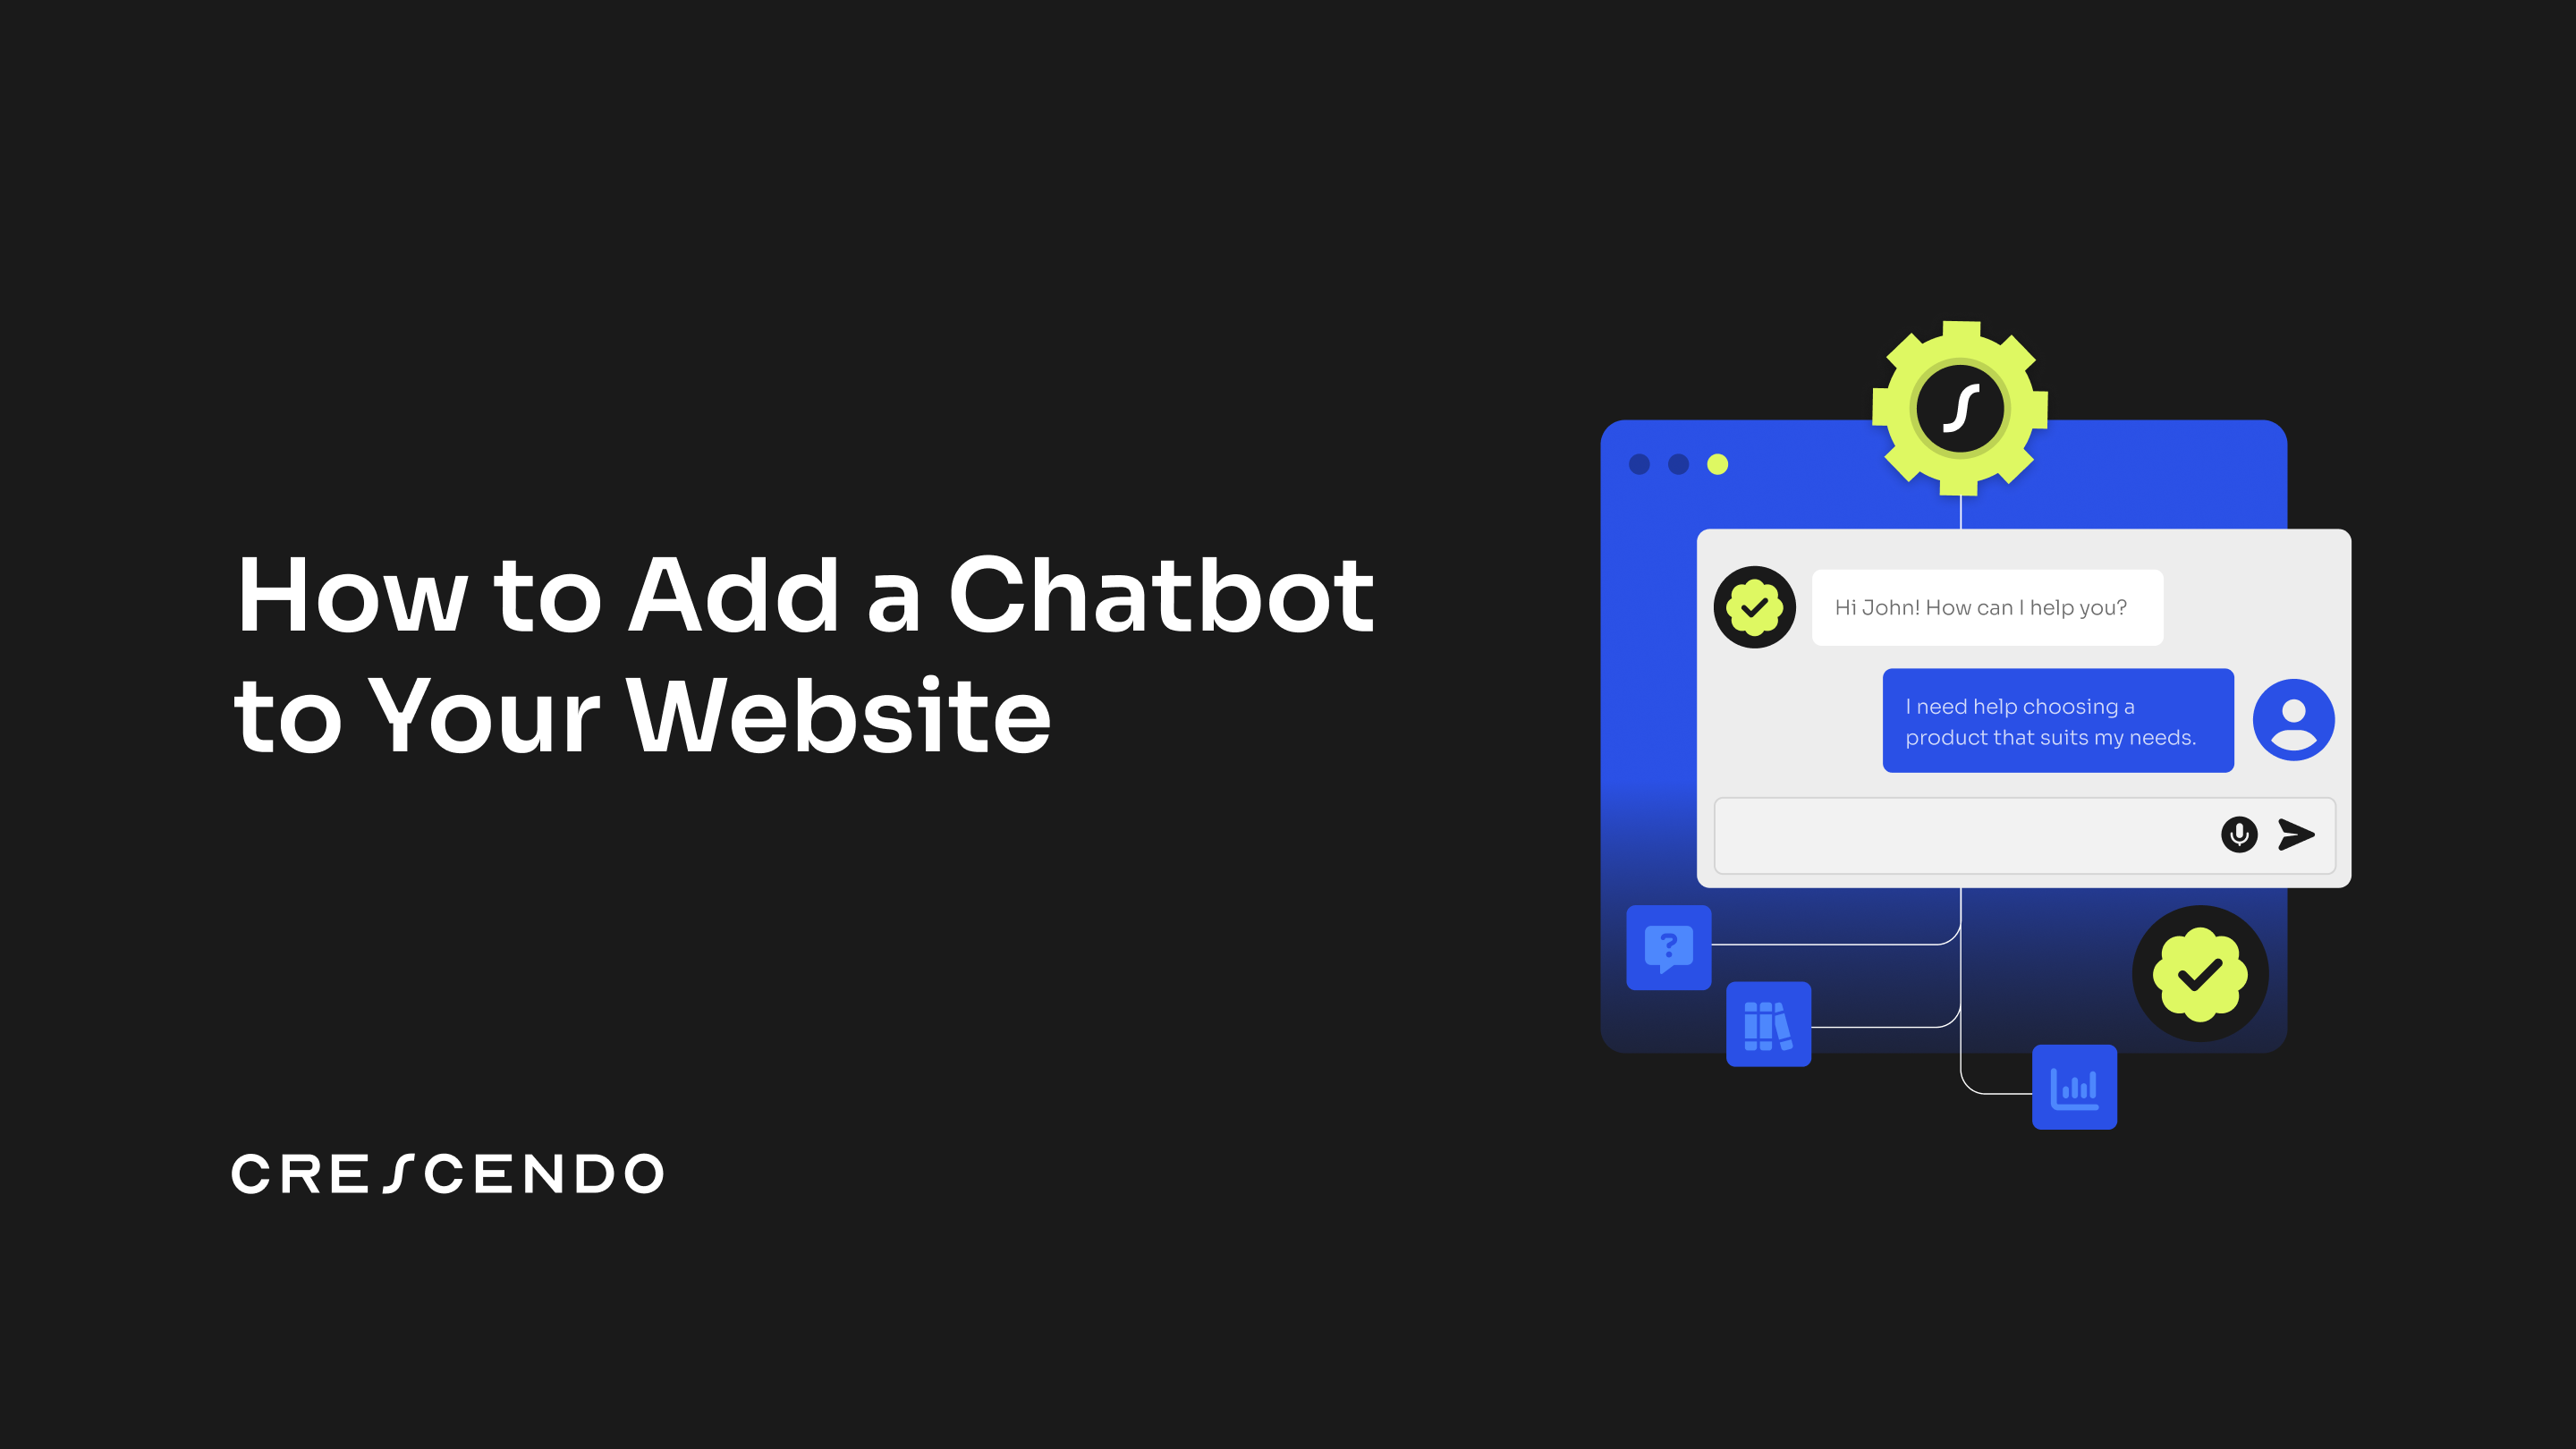
How to Add a Chatbot to Your Website: DIY AI Chatbot Guide


If you’re wondering how to add a chatbot to your website, you’re not alone. Every business today wants instant, automated, round-the-clock support. But with so many tools, platforms, and AI options out there, choosing the right approach can feel overwhelming. That’s why in this article, we’ve compiled the three most widely popular methods to add a chatbot to your site, from fully managed solutions to low-code builders to custom in-house development, so you can pick the one that fits your team, budget, and technical comfort.
How to Add a Chatbot to Your Website and App
There are three primary ways to add a chatbot to your website:
- Partner with a fully-managed chatbot provider like Crescendo.ai
- Use a no-code/low-code chatbot builder such as Crisp or Tidio
- Build a custom chatbot using APIs and SDKs
Method 1: Fully-Managed Chatbot Provider
This is the easiest and most hassle-free way to add a chatbot to your website. A fully-managed provider handles everything, from design to deployment, so you don’t need to worry about integrations, workflows, or maintenance.
Step 1: Choose a Fully-Managed Chatbot Platform
Select a provider like Crescendo.ai that offers end-to-end services. It comes with a dedicated AIDE and CX specialists who build and maintain the chatbot for you.
Step 2: Share Your Requirements with Their AIDE & CX Team
Share all the information below with their team for accurate results.
- Business operations: Types of customer queries, peak vs. slow traffic days, escalation rules, data migrations requirements, compliance needs, when/why a conversation should be transferred to a human agent, etc.
- Current technology: Your CRM, helpdesk, e-commerce platform, knowledge base, policy documents, hosting environment (like WordPress, cPanel, Wix, Shopify, etc.), and any third-party tools you rely on that would require integration with the chatbot.
- Branding preferences: Chat widget colors, typography, logo placement, taglines, and the tone of voice you prefer, polite, conversational, witty, professional, etc.
- Omnichannel Requirement: Do you need support only through chat, or do you also want voice, SMS, and email autoresponders? A strong platform will offer all these channels under one roof and ensure they work together seamlessly without losing context.
This ensures the chatbot matches both your workflow and your brand identity.
Step 3: Complete the Integrations
You can choose one of two options:
- Give the managed partner’s engineering team access to your hosting platform, CRMs, knowledge base, policy docs, and helpdesk so they can handle integrations directly.
OR
- Follow their step-by-step guidance and complete the integrations yourself using the provided instructions or code snippets.
Either way, setup is guided and requires minimal effort from your side.
Step 4: Your Chatbot Partner Builds Everything for You
Once they have the necessary details and access, the provider’s team will
- Create smart workflows tailored to your use cases
- Set up and configure the AI chatbot
- Fully white-label the chat interface
- Connect all integrations
- Configure dashboards, analytics, and reporting
- Run comprehensive QA and testing
- Deploy the chatbot on your website
You’ll receive a fully functional, live chatbot, professionally built, tested, and optimized, without needing to lift a finger.
Step 5: Continuous Maintenance & Reporting
All the functions below are performed by your managed chatbot partner’s team.
- Performance Monitoring:
AIDEs regularly track response quality, accuracy, resolution rates, and overall customer experience to ensure the chatbot is always performing at its best. - Workflow Adjustments:
As your business evolves, the team updates and refines workflows, logic, and routing rules to reflect new products, policies, and customer behaviors. - Bug Fixes & Improvements:
Any technical issues, edge cases, or emerging patterns in conversations are quickly fixed to prevent disruptions in customer support. - Continuous Training:
The chatbot is retrained as needed; new data, updated policies, and recent queries are added to keep responses relevant and accurate. - Ongoing QA:
Quality assurance is continuous. Every improvement is tested before going live to maintain reliability and consistency. - Conversation Intelligence:
Each customer interaction is transcribed, summarized, categorized, and analyzed.
Actionable insights, such as recurring customer issues, product friction points, or trending complaints, are compiled into reports. Your team can access the dashboard anytime. - Leadership Reporting:
Detailed reports are shared with your leadership team regularly, helping inform product decisions, technical improvements, and policy updates. - Automated CSAT Tracking:
CSAT is automatically calculated, giving you real-time visibility into customer satisfaction and chatbot performance. - Sentiment Analysis:
Every interaction undergoes sentiment analysis to detect frustration, confusion, or delight, helping the team fine-tune responses and workflows for an even better experience.
Pricing for Fully-Managed Chatbot Platforms:
Platforms like Crescendo.ai charge $2,900/month + $1/resolution*.
*A resolution means an entire query (not per message or second), no matter how long it takes. If the issue is not solved and the conversation receives a low CSAT because of it, you are not charged for that entire interaction.
Such simple and risk-free pricing models are easy for budgeting.
Method 2: Low Code/No Code Chatbot Builder
This is a semi-manual way to add a chatbot to your website or app. You’ll use a platform like Tidio, Ada, Decagon, Crisp, etc., and do most of the setup yourself with their dashboard, templates, and code snippets.
Step 1: Choose the Right Chatbot Provider
Before signing up, look beyond just the headline price.
Pricing & hidden costs
- Is pricing per agent / per month, per conversation, or per minute/second?
- Are there extra fees for certain integrations (Salesforce, Zendesk, etc.), higher usage tiers or extra seats, white labeling (removing their logo, custom branding), “Premium” or priority support?
Clarify exactly what’s included vs. excluded, and which functions require additional tools.
Features & technical fit
- Do they provide SDKs and APIs if you need custom behavior or mobile app integration?
- How are reporting and analytics handled?
- Are dashboards and reports included in the base plan?
- If not, which third-party analytics tools can you integrate with?
- Are dashboards and reports included in the base plan?
Integrations
- Confirm that the platform connects to:
- Your hosting environment / CMS
- CRMs (HubSpot, Salesforce, etc.)
- Helpdesk tools (Zendesk, Freshdesk, etc.)
- Your knowledge base, policy docs, and other essential third-party tools
- Your hosting environment / CMS
Get all of this clarified before committing, so you’re not surprised by hidden costs or missing features later.
Step 2: Configure the Bot in the Dashboard
Inside the provider’s dashboard, you’ll usually:
1. Customize the widget
- Set colors, logo, and placement (bottom-right, bottom-left, etc.).
- Important: not all platforms offer full white labeling. Some keep their logo or charge extra to remove it—confirm this ahead of time.
2. Create basic flows & rules
- Common starting flows:
- “Ask a Question”
- “Track My Order”
- “Talk to a Human”
- “Ask a Question”
- Define:
- The tone of voice (friendly, formal, witty, etc.)
- How to respond to sensitive topics or escalation phrases
- When to hand off to a human agent, for example:
- The customer explicitly asks for a support representative
- High-value customers (e.g., logged-in, active subscriptions)
- Complex, high-risk issues (billing disputes, account lockouts, complaints)
- Negative sentiment or repeated failed responses
- The customer explicitly asks for a support representative
- The tone of voice (friendly, formal, witty, etc.)
3. Configure targeting
- Decide where and when the bot appears:
- All pages vs. specific pages (pricing, support, checkout).
- Only for new visitors, only after X seconds, or only on exit intent, etc.
- All pages vs. specific pages (pricing, support, checkout).
Step 3: Connect Data Sources
Next, plug in the content the bot will use to answer questions:
- FAQ pages & help docs
- Knowledge base/wiki
- CRM or order system (for tracking orders, account info, etc.)
- Policy docs, product catalogs, and any other structured data
Complete all required integrations so the bot can answer with accurate, real data, not just generic scripts.
Step 4: Set Privacy, Access Rules & Compliance
- Configure data retention and access controls: who can read conversations, how long to store logs, etc.
- Make sure you’re aligned with GDPR/CCPA or any industry-specific requirements (e.g., HIPAA for healthcare).
- Add consent messages or links to your privacy policy directly in the widget where needed.
Step 5: Install the Code Snippet on Your Website
Most providers give you a script similar to:
<script>
(function() {
var s = document.createElement("script");
s.src = "https://your-chatbot-provider.com/widget.js";
s.async = true;
document.head.appendChild(s);
})();
</script>
Sometimes it’s this simple; other times there are more complex steps, like using Google Tag Manager, adding environment keys, or configuring single-page app routing and user authentication.
a) Custom HTML / React / Next.js / etc.
- Open your main layout or template file.
- Paste the script right before the closing </body> tag.
- Deploy your changes.
b) WordPress
- Go to Appearance → Theme File Editor or use a plugin like Header Footer Code Manager.
- Paste the snippet in the footer section.
- Save and clear any caching plugin you’re using.
c) Webflow, Wix, Shopify, etc.
Most have a dedicated Custom Code / Scripts section:
- Webflow: Project Settings → Custom Code → Footer Code
- Shopify: Online Store → Themes → Edit Code → theme.liquid (before </body>)
- Wix: Settings → Advanced → Custom Code
Save and publish so the chatbot appears on your live site.
Step 6: Test the Chatbot
- Open your site in an incognito window.
- Verify the widget loads on the correct pages.
- Test:
- Common questions and flows
- Order tracking or account queries (if applicable)
- Human handoff and email/Slack alerts
- Different devices and browsers
- Common questions and flows
Fix any broken links, wrong answers, or routing issues before going fully live.
Step 7: Ongoing Monitoring & Optimization
With low-code/no-code bots, you (or your team) are responsible for maintenance:
- Continuously monitor:
- CSAT, deflection rate, resolution time
- Drop-off points in flows
- CSAT, deflection rate, resolution time
- Adjust workflows, add new FAQs, and refine responses as your product and policies change.
- Fix bugs, update integrations, and review analytics regularly to keep the bot effective and on-brand.
Method 3: Build Your Own Custom Chatbot (Developer-Heavy Method)
This is the most advanced and challenging approach. You (or your engineering team) build the chatbot from scratch, front-end, back-end, AI logic, integrations, analytics, and deployment.
It offers complete control but requires strong technical expertise.
Step 1: Choose Your AI Model + Tech Stack
Before writing any code, your engineering team must decide:
1. AI Model / Engine
Options include:
- OpenAI GPT models (GPT-4, GPT-5, GPT-4o, etc.)
- Anthropic Claude
- Cohere
- Google Gemini
- Llama / Mistral (self-hosted or via providers)
2. Backend Technology
You can build the chatbot backend with:
- Node.js / Express / Nest
- Python (FastAPI, Flask, Django)
- Go
- Ruby, Java, PHP, etc.
3. Front-End Framework
The chat widget must be built or customized:
- React (most common)
- Vue, Svelte, Angular
- Pure HTML/CSS/JS if you want a lightweight widget
- OR integrate inside your existing web app
4. Hosting
Choose where the backend will run:
- AWS, Google Cloud, Azure
- Render, Vercel, Netlify
- Self-hosted cloud servers
This step defines the entire architecture.
Step 2: Build the Backend Logic
Your backend handles all intelligence and routing. Key components:
Message Handling
- Receive messages from the front-end
- Send them to the AI model
- Return the model’s response
- Manage conversation context
Knowledge Retrieval
If you want the bot to use your company’s data:
- Build retrieval pipelines
- Use vector databases like Pinecone, Weaviate, Qdrant, or Redis
- Connect to internal APIs or CRMs
- Implement RAG (Retrieval-Augmented Generation)
Human Escalation
Create rules for:
- Failed AI responses
- Negative sentiment
- High-value customer scenarios
- Safety-sensitive topics
- Direct “Talk to a human” requests
Routing can be done via Slack, email, Zendesk, Freshdesk, or a custom dashboard.
Security & Authentication
- Encrypt data in transit & at rest
- Use authenticated API requests
- Implement role-based access control
- Mask PII or sensitive data in logs
- Add rate-limiting and bot protection
Step 3: Build the Chat Widget (Front-End)
You must create the entire chat interface:
Core UI components
- Chat bubble
- Chat window
- Message input
- Loader animation
- Typing indicators
- File upload (optional)
- Voice input/output (if you want multimodal support)
Branding
- Custom colors
- Logos
- Fonts
- Button styling
- Widget placement
- Light/dark mode (optional)
Event Listeners
- Track page load events
- Store session data
- Handle cookies & privacy consent
- Trigger the widget on certain pages or user behaviors
Deployment
Bundle the widget into one JS file, then load it via a snippet like:
<script src="https://yourdomain.com/chatbot.min.js"></script>
This snippet injects your custom UI into any website.
Step 4: Add Integrations
This is where most custom projects get complicated.
Your chatbot must connect to:
Internal Systems
- CRM (HubSpot, Salesforce)
- Order systems
- Databases
- Authentication systems
- ERP or inventory tools
Support Tools
- Zendesk
- Freshdesk
- Intercom
- Help Scout
- Jira Service Management
Knowledge Sources
- Markdown files
- API docs
- Notion
- Confluence
- PDFs and internal documents
All integrations must be implemented and maintained manually.
Step 5: Add Compliance, Logging & Analytics
You must build your own:
Privacy Controls
- Cookie consent
- GDPR deletion APIs
- Data masking
- Audit logs
Analytics
Custom or third-party:
- Message volume
- Resolution rate
- Response accuracy
- Query classification
- Drop-off points
- CSAT collection
- Sentiment analysis
- Performance monitoring
Error Logging
- Track failures
- Log exceptions
- Monitor API limits
- Handle rate-limiting gracefully
Tools often used:
Sentry, Datadog, New Relic, LogRocket.
Step 6: Deploy & Test
Deployment usually includes:
- CI/CD pipeline setup
- Unit tests & integration tests
- Load testing
- Browser/device compatibility testing
- Staging vs production environments
- Network/firewall configuration
- Scaling rules
Then test your bot thoroughly:
- Ask product questions
- Test FAQs
- Try edge cases
- Check human escalation
- Test analytics logs
- Validate the tone and factual accuracy
Step 7: Continuous Maintenance & Upgrades
Since you're building everything yourself, your team must maintain it:
- Fix bugs
- Patch vulnerabilities
- Update SDKs & APIs
- Improve workflows
- Add new FAQs
- Retrain the model via better prompts or updated data
- Monitor hallucinations
- Adjust safety layers
- Update integrations when APIs change
- Scale servers for traffic spikes
- Maintain uptime and reliability
This is usually the most expensive part because it's ongoing and never truly “done.”
Pricing for this DIY Chatbot Method
Custom-built chatbot pricing is the hardest to estimate because every component has its own cost, AI model usage, engineering time, hosting, storage, integrations, UI development, security layers, QA, and ongoing maintenance. A simple rule-based bot may cost $10,000–$25,000 to develop, but advanced AI chatbots with LLMs, RAG pipelines, CRMs, analytics, and custom UI often cost $80,000–$150,000+ to build. Large enterprises sometimes invest $250k–$500k or more for fully custom, secure, scalable systems.
There’s also an ongoing cost: cloud hosting, vector database storage, a developer retainer, and AI inference usage. For example, OpenAI’s GPT-4 class models can cost $1.50–$5 per million tokens, and usage grows quickly at enterprise scale.
Because you’re responsible for everything, bug fixes, API updates, retraining, server uptime, the long-term cost of custom chatbots is significantly higher and more unpredictable than SaaS-based solutions.
Final Words on How to Add a Chatbot to Your Website
So yes, there are three ways to add a chatbot to your site: do it yourself, semi-do it yourself, or let the experts handle the chaos. Low-code tools are great… until you’re drowning in workflows, integrations, and “premium add-ons” that mysteriously weren’t included. Building your own chatbot is fantastic… if you can also afford an expensive engineering team that enjoys sleepless nights, surprise AWS bills, and debugging at 2 AM.
But a fully managed chatbot platform? That’s the sweet spot. You get the power, the customization, the integrations, and the performance, without the headache. Their AIDEs build it, train it, fix it, monitor it, and upgrade it while you sip your coffee and pretend you did something impressive.
In short: if you want a chatbot that works (and keeps working), choose the method where you do the least and get the most. Fully managed wins, every time.